Total Pageviews

Sunday 28 August 2016

Launch Bay: Ready to play

And I have achieved the state of "good enough" and the table is ready to be used. Will probably get a game on it this week. It may also see some action as a Necromunda board as well but those are plans for another time.

Now what do I work on? I am probably going to force myself to complete unfinished projects that were started. There is still a lot of Space Wolf stuff that has been assembled and primed. But then again...

Anyway a few shots of the completed board with the light kits in and working. The board needs a few touch ups and weathering but it is effectively ready to go.


Saturday 27 August 2016

Launch Bay: Main colours and pieces (mostly) done

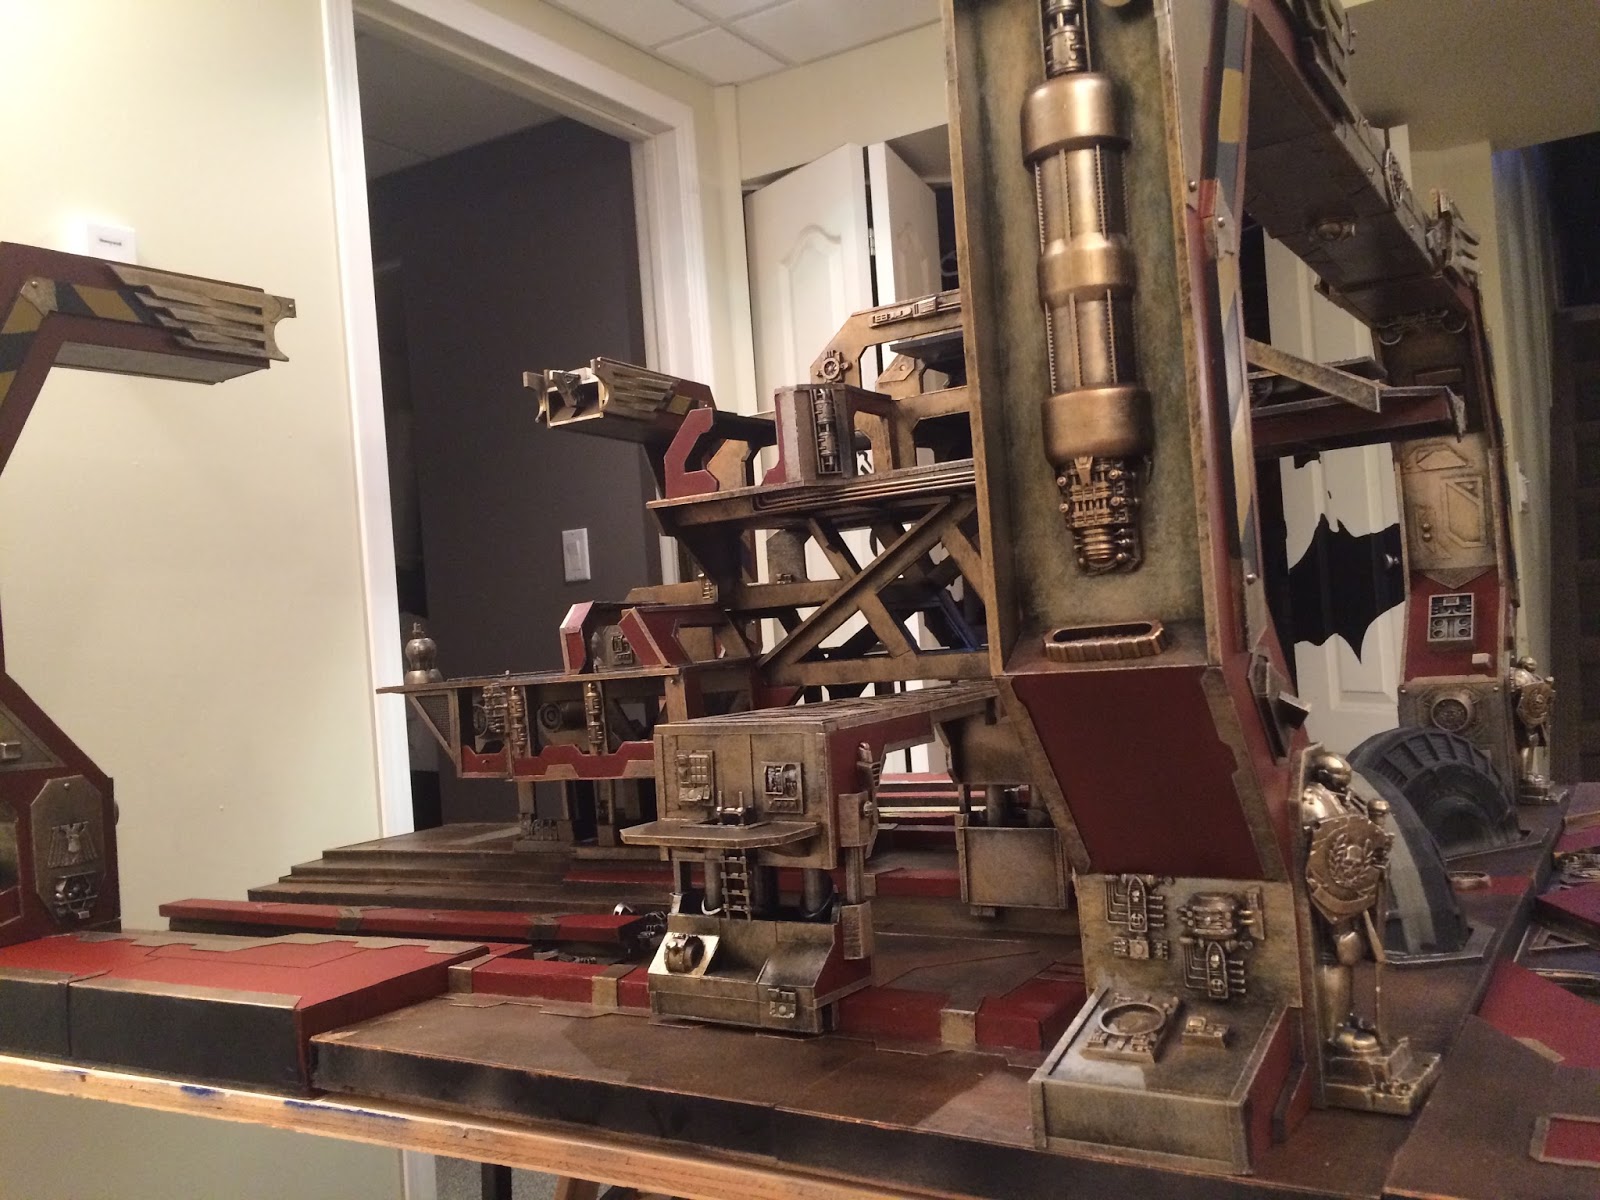
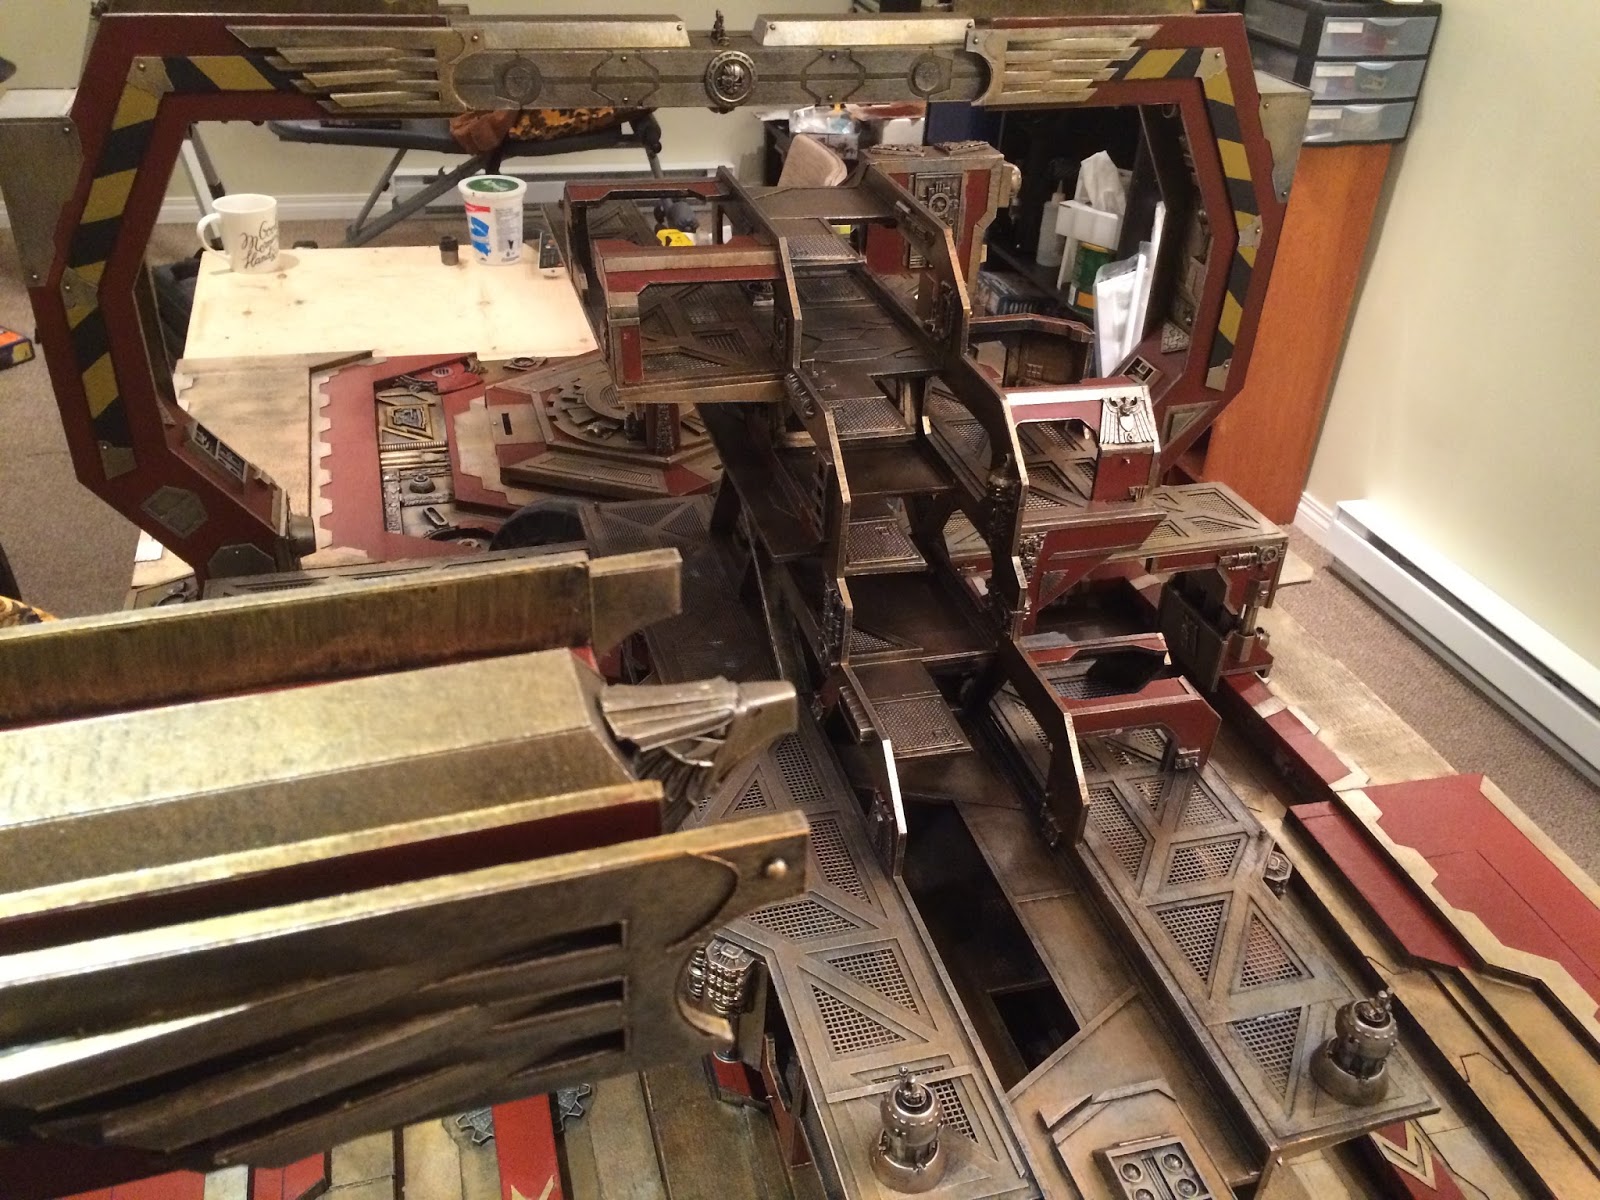
So I grit my teeth, fired up the Youtube for background noise, and got the main colours down on all of the major pieces for the board and have assembled the whole monster to get an idea of what it will all look like.

I will be completing the  priming of the remaining pieces for the board today. these are primarily the doors / launch elevator for the runway area and a couple of other detail pieces. My goal is to just get the board to a mostly done state. If I decide to go into detail on the board, well there is a large amount of work involved in that and I am not relishing the experience. I will probably spend an afternoon just with a small palette picking out lights and control panels.

I will need to decide how to seal up the paint job on the board and will hopefully be be motivated enough t play a game on it next week. i also have a friend interested in using the board as part of a Necromunda league. That works too.

Of course I am already looking at what is next. There's an old joke about how women are interested by what is on TV while men are interested by what else is on TV. I think I need to keep focused on my Space Wolves for now to get the projects I started completed. Photos will be posted as I go.


P.S.

I never did note before but I had screwed up the priming on the larger pieces. Because it was a case of mass priming I got lazy and apparently at times was spraying from too far a distance. So in  a few small places the primer coat was very grainy. I just painted over it as mindlessly as possible and have noted the lesson for future projects. Overall the impact is not huge but it is there, mainly on one of the gantry pieces.


Tuesday 23 August 2016

Launch Bay: Endless dry brushing

The title really tells it all.

Just a few shots for the record of the work in progress.

Used a copper shade by a brand called Basic that I bought at a local art store (Michael's but other do carry the line). this will be followed by a gold dry brush (which is unfortunately virtually transparent at times over the copper and may require several dry brush passes with time for each coat to dry). Then a light dry brush of an almost equally transparent silver. What? I got the stuff because it is cheap. The effect over all is quite nice too and the coverage is not as bad as I have characterized. It does require some care in applying and I am trying to rush this process.

After this stage I will return to applying a mechanicus red-like colour in places, mainly the vertical surfaces. I intend to using a stippling technique on the main walkways to show wear and tear and a painted floor made little sense in such a place... to me anyway.


Wednesday 17 August 2016

Launch Bay: Base coats

Before I had my minor surgery in July I had base coated the launch bay terrain boards. I have healed up enough that I spent some time getting the base coats on the boards themselves. I have used a combination of metallics (copper, gold and silver) and mixed an approximation of mechanicus red to pick out some of the armour plates and make the board look more visually interesting rather than leave it fully metallic. The fun part will be remixing the same shade of red for the structures that will go on the board.