Total Pageviews

Monday 28 December 2015

Launch Bay: Detailing begins

So having made the mistake of moving these pieces around led to a full blown work session this past weekend that made my basement look like a cardboard and foamcore factory exploded.

I spent a fair bit of time detailing the elevator. One flight elevator is being modeled with the elevator raised while the other is being done with the main bay door closed. The elevator itself is in two levels as I wanted some slightly mechanical items to be visible through the mesh portions of the elevator platform. I then realized that when the lighting system is put in, some of the light should hit these mechanical parts so I added some lifts in the form of foam core strips. I am hoping that their arrangement will allow a bit of light from the light strip to shine from below the elevator. For all of the effort in designing and detailing, I have yet to test if this idea will actually work.

The main structure at the center of the first board section received some bulk and some detail. I added a second level and started adding some reinforcement to the outside braces of the structure. I do not have a clear picture of this piece yet so progress is necessarily slow but like the rest, I am going to keep adding bits until I am satisfied with it's appearance and bulk. I am trying to keep the center of gravity towards the end of the table but by necessity the structure will ultimately be supported by the gantries.

I have been trying to devise a structure or structures to surround the teleporter that would add a sense of walls without interfering too much with larger vehicles but I can not come up with one that would not be purely decorative as opposed to decorative and functional. So instead I decided to add some random mechanical detail to the floor surrounding the teleport pad. Most are pieces of plastic from other model kits, with a lot from the Millennium Falcon kit. Some structures are made using card and foam core to bulk them out. In truth I would prefer the board is busier (and it still may be). Because of the raised platform in the center of the board section there is already plenty of cover on the board. It just is not busy enough. I did avoid adding any detail that would interfere with stacking the board section.

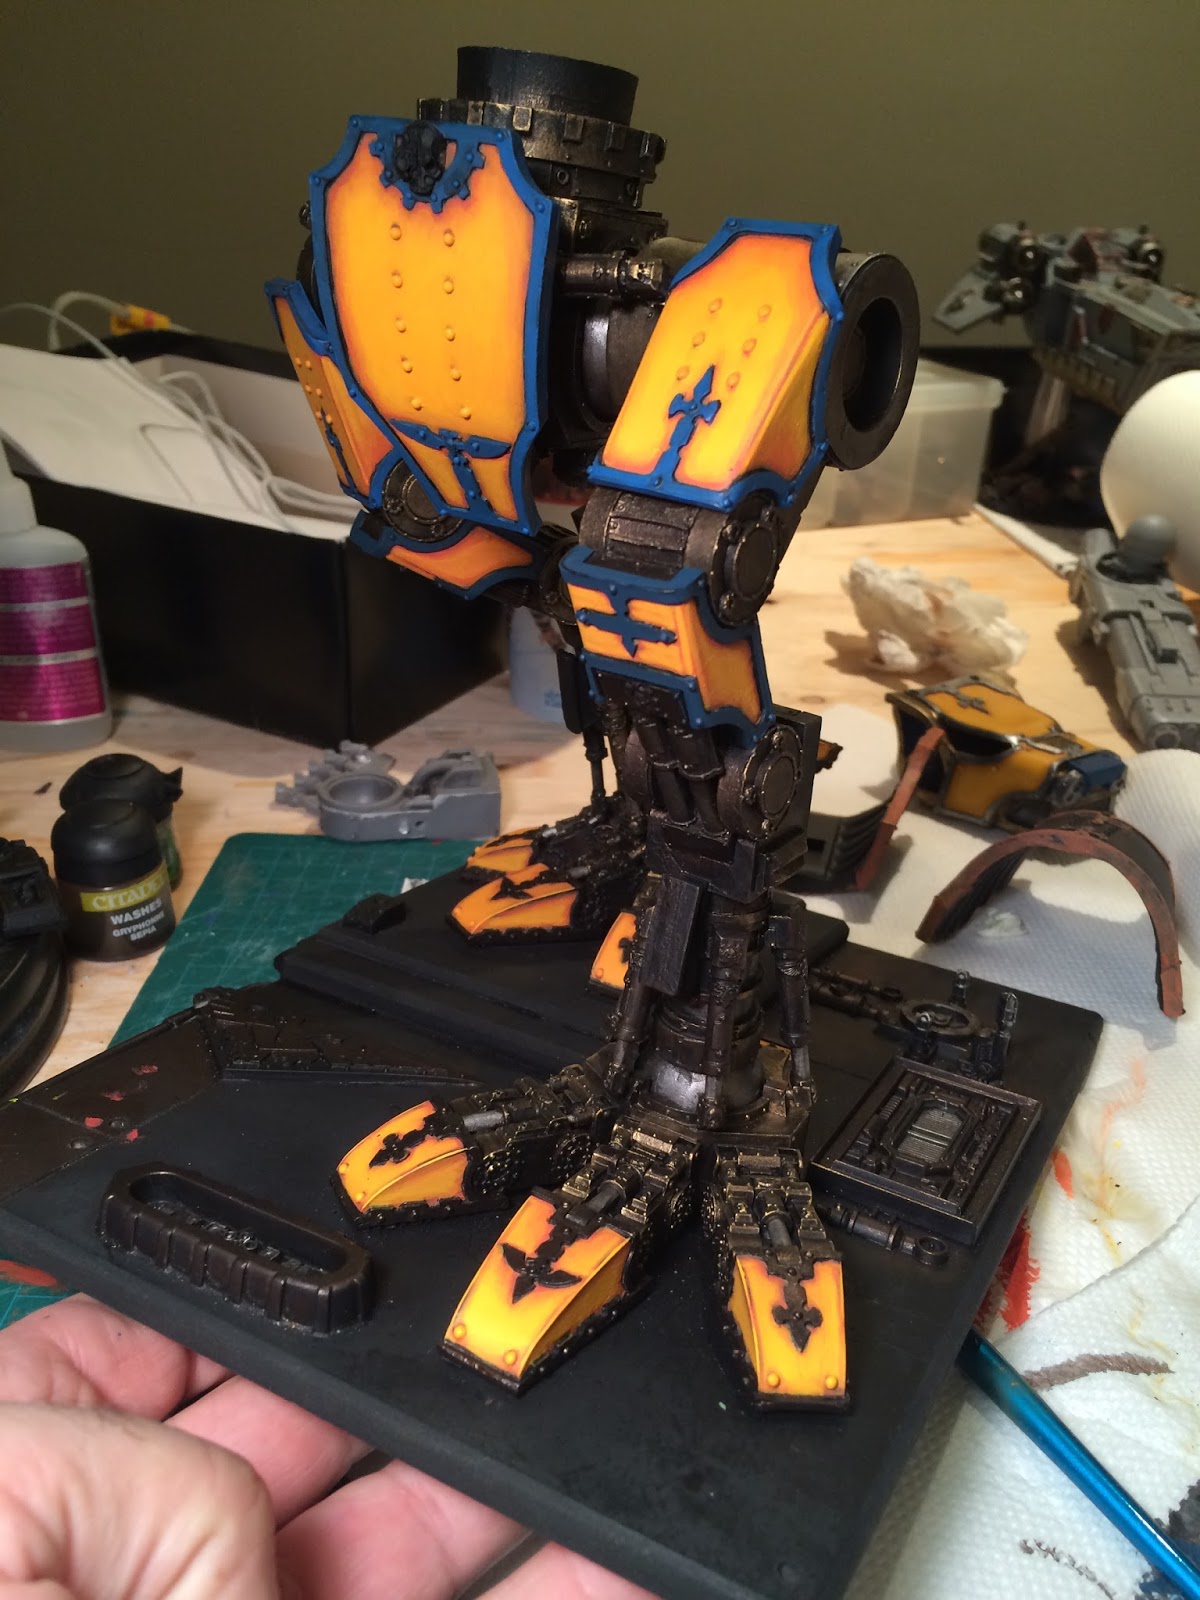
The Warhound is still on the table. But the desire to build is currently winning right now as I take advantage of the holidays to reorganize the house and move things around/throw stuff out. I even spent some time assembling a couple of Eldar superheavy tanks but I am avoiding photos of them until some vague future date when they may get introduced to paint.


Saturday 12 December 2015

Warhound Titan (Legio Gryphonicus) Carapace Base Tones

Since we are so near the holidays, progress has been slowed down by real world responsibilities. But some small progress is still being made.

These are the base tone greys for the carapace. Like the yellows the plan is to highlight the solid colours, then spray fix the paint job so hopefully I can wipe away mistakes while painting the final layers. 

Again the plan is to reproduce the mottled look of the War Griffons as shown in the original colour plates in the Adeptus Titanicus game. I have an idea of how to approach that scheme but I have no idea yet how it will work. I will have to practice on some primed card to see just how viable my ideas are. I really do not want to use an airbrush on this model. I'm saving that for the Eldar superheavies.

Below is a rough mock-up of the of the carapace with the weapons and head. And yes, I will have to re-do the yellow on the head to match my current scheme for the model. 

P.S.

One of the reasons I am feeling compelled to work on these large models is because I have opened all of the packaging and mocked up at least some of the assembly on them (the Phantom is going to be huge). But this means that bits get loose and I have managed to misplace numerous parts. So when I started seriously assembling this model I could not locate the brass etch grating for the carapace. So I scratch built these stand ins to take their place until I accidentally turn over the rock I left the brass etch under. 


Saturday 28 November 2015

Space Wolves Thunder Wolves: Two Squads

Storm Shields for everybody and a single Thunder Hammer to round it out. I have the last two models assembled but have yet to settle on their weaponry.

So oddly I went from hating the concept to owning about 11 of these models. Marines should not ride dogs.


Space Wolves Thunder Wolves: Characters

I have a set of WIP shots of the Iron Priest and a finished shot of the other two characters (Wolf Lords or Wolf Guard Battle Leaders depending on need. The character with the axe is holding Crom Dragongaze's axe and it can serve as the Black Axe if points allow. His weapon arm is magnetized and his alternative load out is a Thunder Hammer. The other character has a Power Fist that is swap-able with a Wolf Claw.

I am really please with the Iron Priest. The model is so static that it is barely converted. The Servo Arm really gives him some depth while the static pose of the model gives it some gravitas that the other wolf models do not have.


Warhound Titan (Legio Gryphonicus) Weapons yellow tones

Getting the yellow on the weapons to the same shade as that on the legs. I used GW's Yriel Yellow and Troll Slayer Orange from their layer paints for the colours. There were multiple mixtures and blendings.

Next is to clean up the black areas to prep them for metallics and other colours. From here I will have to move on to getting the carapace and main body done. The plan is to spray fix the model to protect the paint job before I start attempting the mottled pattern that is part of the Legio's heraldry. I can see the end of this project and it is looking good so far.


Tuesday 24 November 2015

Space Wolves (Murderfang completed)

The Thunder Wolves are done, including an Iron Priest on a wolf but I will need to take proper pictures. In the meantime here is my take on Murderfang.


Monday 23 November 2015

Warhound Titan (Legio Gryphonicus) Head, Interior, and Leg Test Fit

I found the first shots I took when I started painting the head. Not the interior of course, just the exterior.

I also have a couple of shots of the interior. I really do not want to spend too much time on the interior so I am doing a very dirty job of it. I am much more concerned on how the exterior appearance will look.

Finally a shot of the yellow highlighting before and after a dry fit with the leg shields.