Total Pageviews

Sunday, 23 October 2016

Reaver Titan (Legio Gryphonicus): Reaver Legs and Base

So after mindlessly assembling Eldar for a few weeks I got hold of myself again and thought abut what I wanted to do next. technically from a while back, my plan was to do a regular 40K project then to do one of my FW large models. I had just finished the Space Wolf project, then jumped into the Gothic stuff which did not meet the terms of the original plan. So in order to refocus myself I have decided to start work on the Reaver titan while I still remember roughly how I painted the Warhound.

I will also need a a name for this titan model too. So far it's waist is at the top of the Warhound in terms of height. While the price tag is scary enough, just the sheer size of this thing is at the limit that I am willing to have. A warlord is definitely out of the question...unless I built my own. Which will never happen.

Anyway below are shots of the Reaver's legs and base.

The various pistons on the Reavers legs and hips are a rather tedious part of the build. I will caution you, if you are planning on assembling one yourself, that you attach the waist pistons as you glue the waist together. It is a pain to get them in there later.

I did the toe pistons one at a time, initially only gluing them to the toe socket by having them in place as the glue dried. the back leg was difficult as it is in the process of stepping and required some bracing to keep the feet and toes in their proper places.

The shin armour assembly recommended that you glue the supports into place as you glue the armour into place. I did not do this, then found the armour support brackets did not line up with their attachment points on the lower part of the legs. However I solved this with a cup of hot, microwaved water.

Caution: Heating water in the microwave can be dangerous as water in a clean, featureless container can super-heat without boiling, and then simultaneously boil once it is disturbed. This translates roughly into it being possible for water heated in a microwave to superheat and erupt out of the cup when you pick it up. Look at your water as it heats up. If you see it boil you should be find. As a precaution a wooden splint can serve as a nucleation point for the boiling bubbles to form, so place one in the water be fore you heat it up in the microwave.

Anyway by immersing both armour pieces together and letting them heat up, they both become quite flexible. You can then place them on their attachment points and adjust their shapes to better conform to where they will be placed. Note that it important to fit both halves of the armour at the same time. they need to line up properly at the front of the leg and this is best achieved with both sides being fitted at the same time.

And so it begins...

The base was made with a hard board circle from a cable roll and part of a grid from a fluorescent light. I originally was going to do a full grid using an insect screen but opted instead for panels of plasticard to fill it in. Since the Reaver is taking a step forward I made the base a stepped two level. The addition of random techie bits fills in the base and brings it in line with the Warhound's base.


A shot just to show the scale of this model.


Placing the feet and determining how the toes will be positioned.


An Eldar diversion....for a few weeks anyway

Remember when i was working on BFG stuff? Me neither apparently.

The models sit in silent vigil over my work station as I allow my attention to go while. I almost called it my focus but as will be seen, that word is not appropriate.

First off I was asked to bring out the Eldar for the weekly gaming group as no one else was using them. I did not want to as I knew that my attention would become rather elf-centric. And lo that is what happened. I worked on a converted set of Shining Spears, assembled two more Dire Avenger units, assembled a unit of Wraithblades with axe and shield, assembled a Shuriken canon toting Wraithlord, and finally dramatically posed my FW Wraithseer.

The first shots show how I cut up the Wraithlord legs to reposition them for a few more posing options.

The Wraithblades were also extensively reworked to give them more dynamic and threatening poses.

The primed Wraithlord is an old assembly from a few years ago. Not really happy withit now but too lazy to change it.

The Wraithseer is just too boring in it's stock pose so mine is ready to fight but is casting a psychic power.

The Eldar are now on hold, Check the next post to see why. Squirrel!

Only the Wraithlord and Wraithblades are included below:


Monday, 19 September 2016

Battlefleet Gothic: Thousand Sons Chaos Fleet

Just a fun little diversion into my favorite specialist game ever created by GW. I am toying with the idea of getting back into this game system and have started by rousing my chaos and imperial fleets. I am trying to keep the paint jobs quick and simple....right.

I had painted up a 1500 pt imperial fleet that I used in a local tournament years ago. I modeled the fleet after the book 'Execution Hour' by Gordon Rennie, a fun read. I had since added a retribution class battleship but that work dates back years.

I am painting up a Planet Killer in TS colors. Despite the fluff there was only ever one built and it was reported destroyed towards  the end of the Gothic war, though it's hulk was never recovered....unless it was. Maybe, I don't know.


Sunday, 28 August 2016

Launch Bay: Ready to play

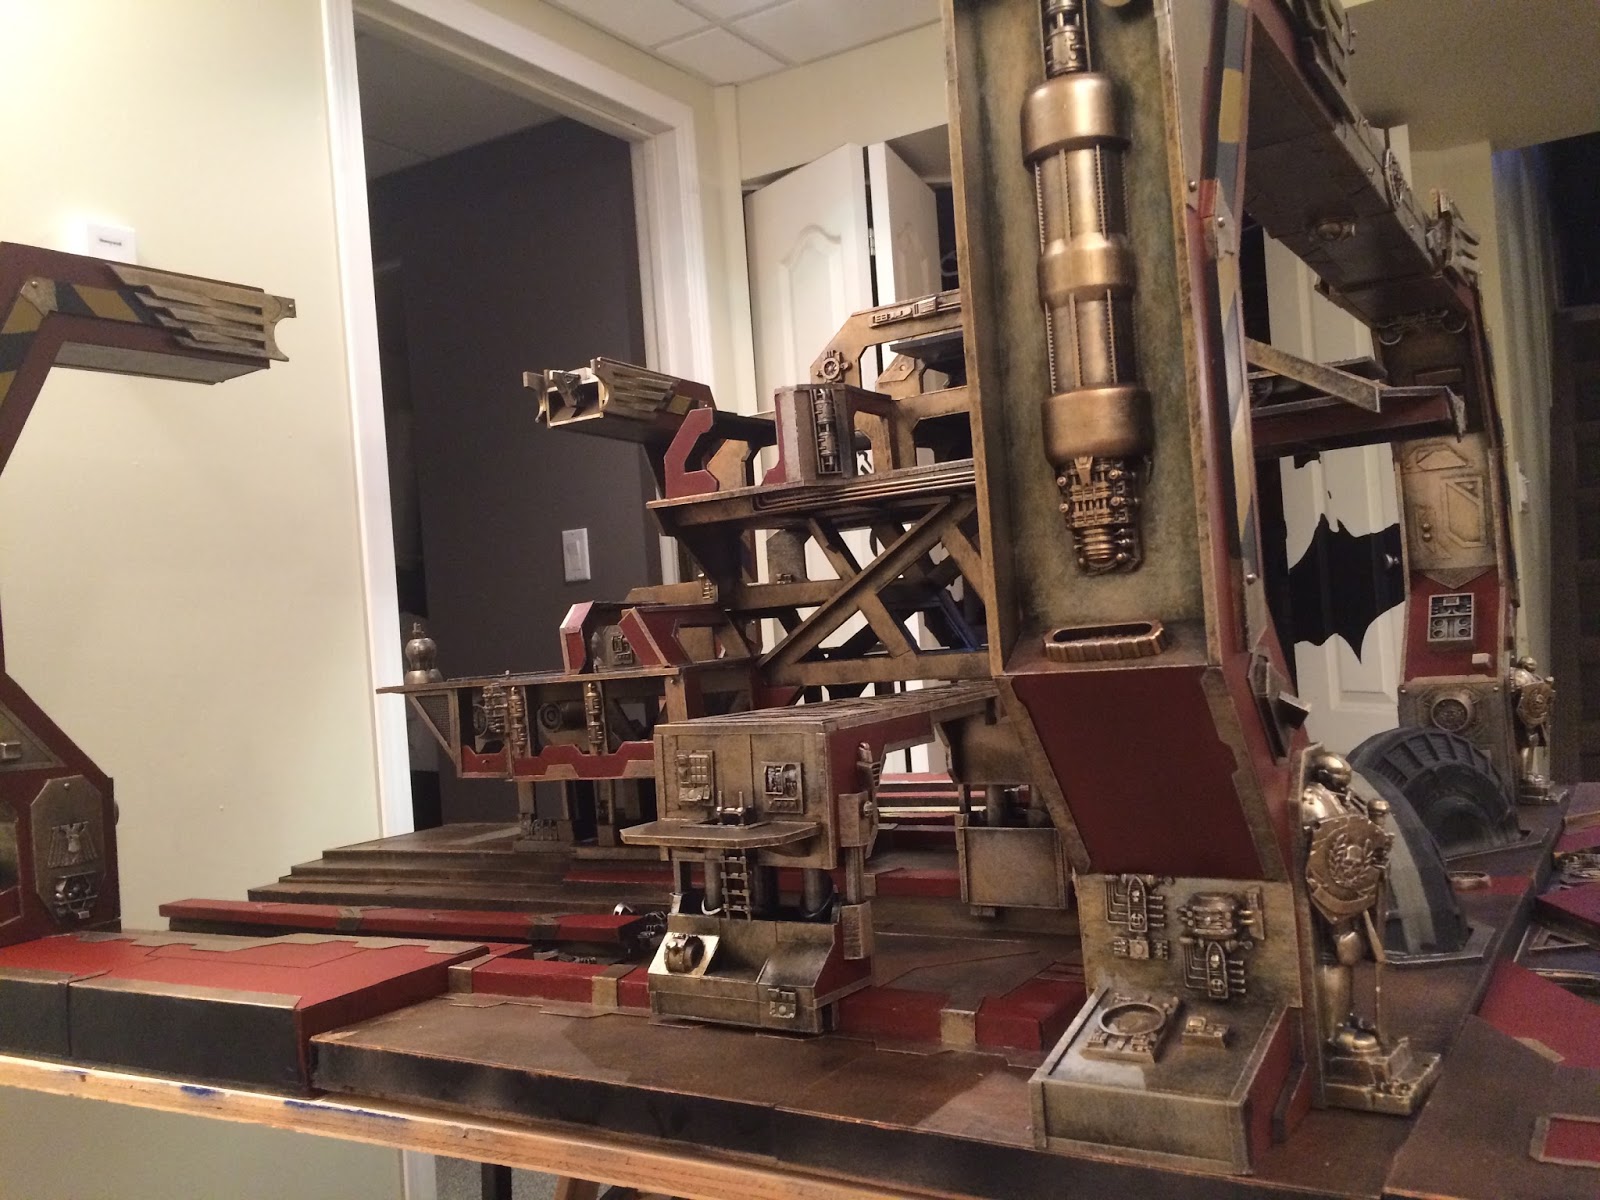
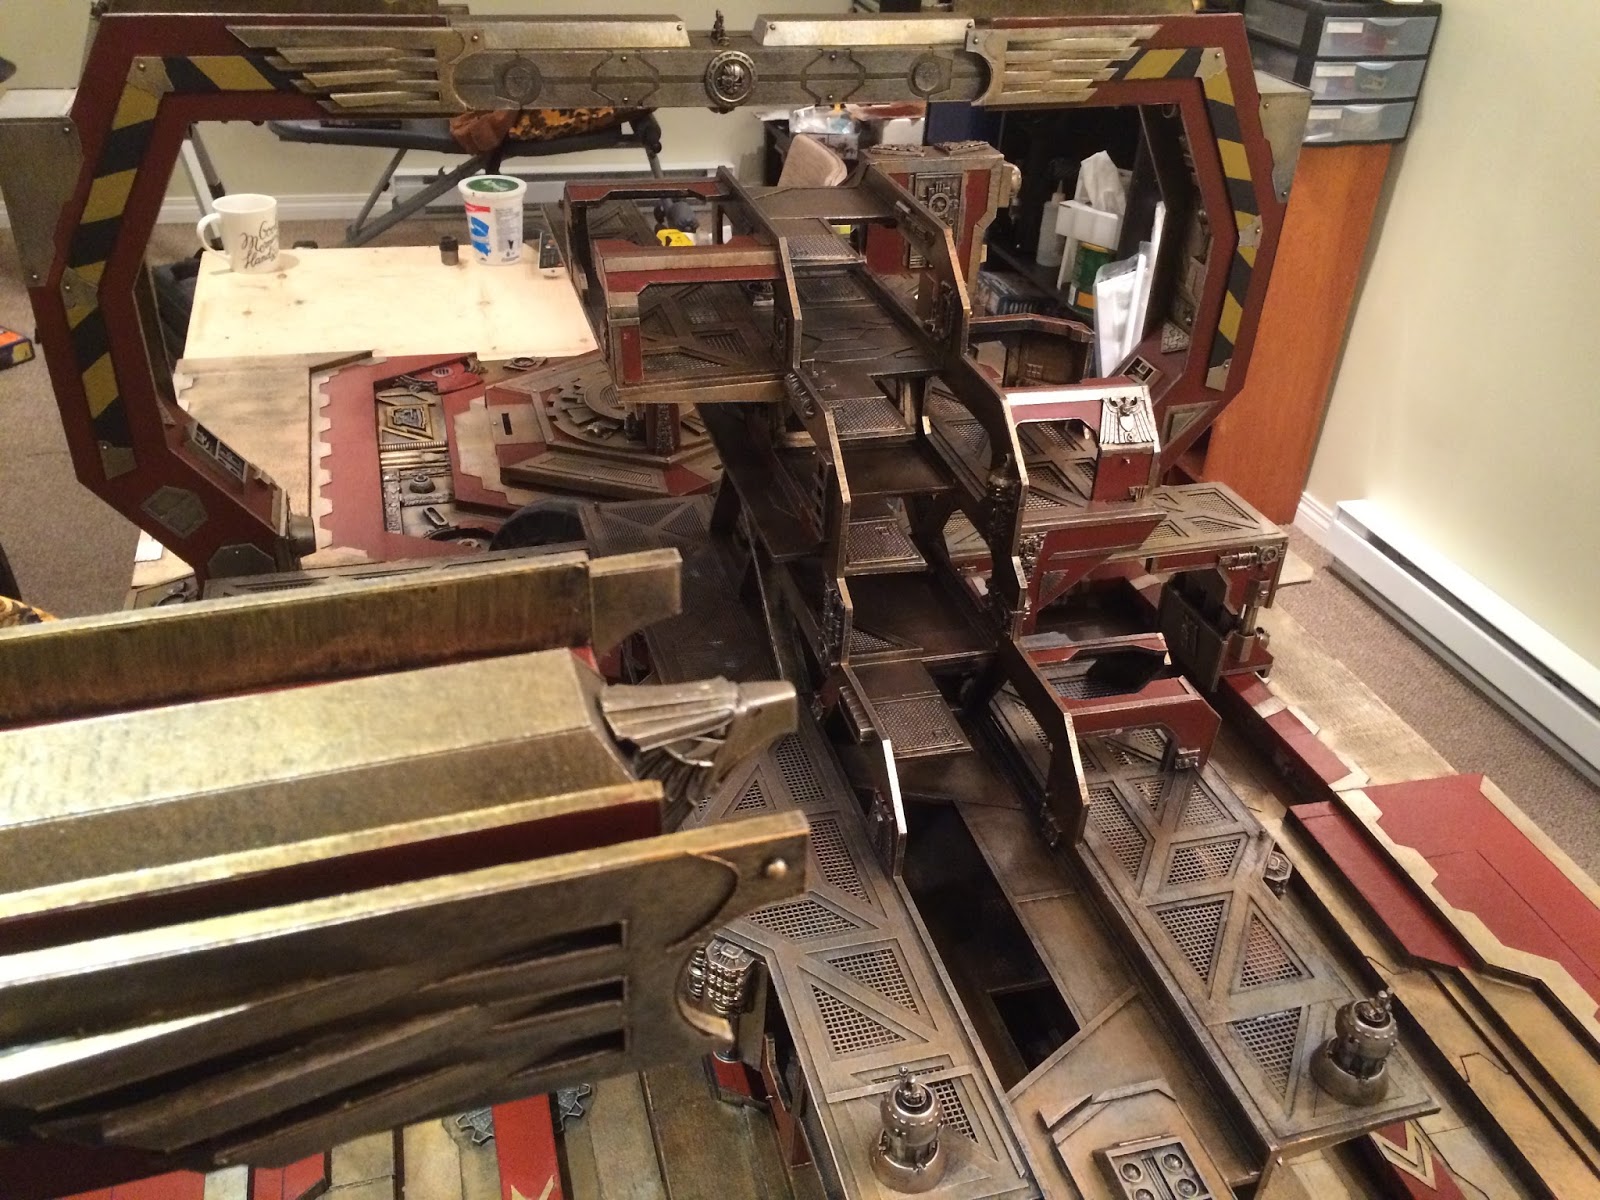
And I have achieved the state of "good enough" and the table is ready to be used. Will probably get a game on it this week. It may also see some action as a Necromunda board as well but those are plans for another time.

Now what do I work on? I am probably going to force myself to complete unfinished projects that were started. There is still a lot of Space Wolf stuff that has been assembled and primed. But then again...

Anyway a few shots of the completed board with the light kits in and working. The board needs a few touch ups and weathering but it is effectively ready to go.


Saturday, 27 August 2016

Launch Bay: Main colours and pieces (mostly) done

So I grit my teeth, fired up the Youtube for background noise, and got the main colours down on all of the major pieces for the board and have assembled the whole monster to get an idea of what it will all look like.

I will be completing the  priming of the remaining pieces for the board today. these are primarily the doors / launch elevator for the runway area and a couple of other detail pieces. My goal is to just get the board to a mostly done state. If I decide to go into detail on the board, well there is a large amount of work involved in that and I am not relishing the experience. I will probably spend an afternoon just with a small palette picking out lights and control panels.

I will need to decide how to seal up the paint job on the board and will hopefully be be motivated enough t play a game on it next week. i also have a friend interested in using the board as part of a Necromunda league. That works too.

Of course I am already looking at what is next. There's an old joke about how women are interested by what is on TV while men are interested by what else is on TV. I think I need to keep focused on my Space Wolves for now to get the projects I started completed. Photos will be posted as I go.


P.S.

I never did note before but I had screwed up the priming on the larger pieces. Because it was a case of mass priming I got lazy and apparently at times was spraying from too far a distance. So in  a few small places the primer coat was very grainy. I just painted over it as mindlessly as possible and have noted the lesson for future projects. Overall the impact is not huge but it is there, mainly on one of the gantry pieces.


Tuesday, 23 August 2016

Launch Bay: Endless dry brushing

The title really tells it all.

Just a few shots for the record of the work in progress.

Used a copper shade by a brand called Basic that I bought at a local art store (Michael's but other do carry the line). this will be followed by a gold dry brush (which is unfortunately virtually transparent at times over the copper and may require several dry brush passes with time for each coat to dry). Then a light dry brush of an almost equally transparent silver. What? I got the stuff because it is cheap. The effect over all is quite nice too and the coverage is not as bad as I have characterized. It does require some care in applying and I am trying to rush this process.

After this stage I will return to applying a mechanicus red-like colour in places, mainly the vertical surfaces. I intend to using a stippling technique on the main walkways to show wear and tear and a painted floor made little sense in such a place... to me anyway.